Watch Out!
Zombies are everywhere! And they're hungry, hungry for PIZZA! Trapped in an apartment on the 28th floor, can you rescue the pizza, get the gun, unlock the door, and defeat the zombies? It'll take solving lots and lots of interesting, fun puzzles. Welcome to Escape Room Z, an hour-long puzzling adventure for you and your crew.
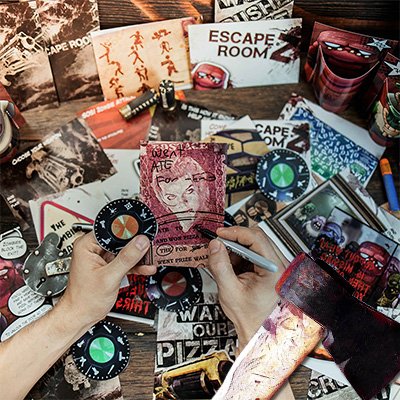
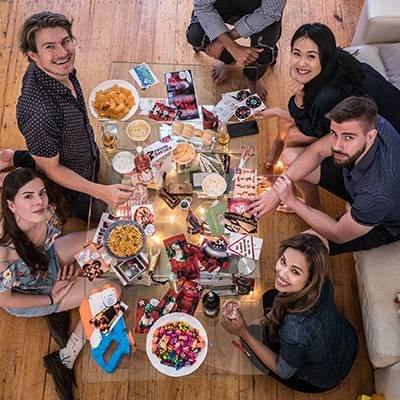
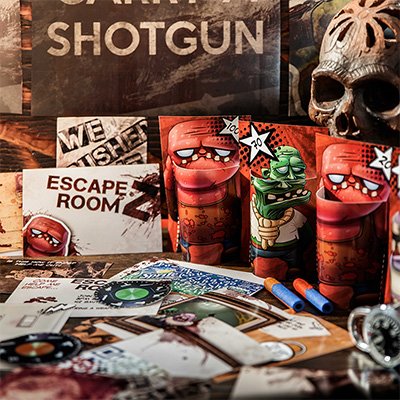
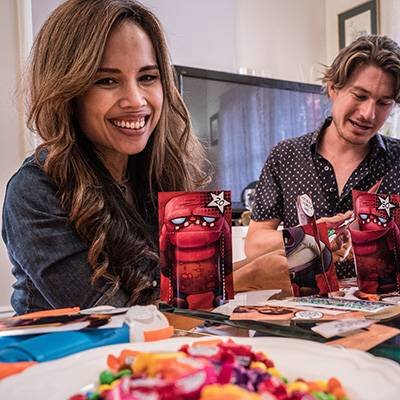
You're the Host. As the host of this event, you'll prepare everything so your crew is ready to defeat the zombies and win the day. Keep scrolling for all the setup instructions, then once the game is ready, join your friends and play!
Summary Of Game Setup
Download and unzip the game zip file. Inside you'll find the game itself, along with editable posters, invites, and a designer's kit for customizing.
Full setup walkthrough
Quick setup demo
How To Print The DIY Escape Kit
Print at Home
Open the PDF file Print at Home Version.pdf and print the escape kit on standard A4 paper at home, or take it to a printing/xerox shop.
The game is designed for teams of 1-5 players. Got a larger group? Just print the kit out several times and run it as a competitive team event.
- 1-5 players Print 1 copy
- 6-10 players Print 2 copies
- 11-15 players Print 3 copies
- 16-20 players Print 4 copies
Optional: Theme Your Props
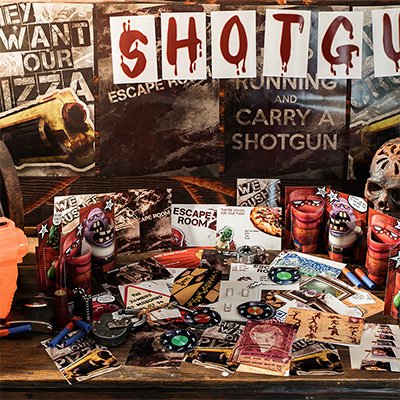
Escape Room Z also includes optional props to make the experience even more immersive. Print any you'd like from the Props folder, none are required to play, but if you want to go the extra mile, it's totally worth it.
Prep the Clue Cards
Although you can play Escape Room Z on a table like a board game, it's much more fun to hide the puzzles around the room like a real escape game. For a truly immersive experience, set it up in a living room, since that's where the storyline happens. Feel free to be creative and customize to suit your needs, there's no wrong way to do this. Just follow the steps below.
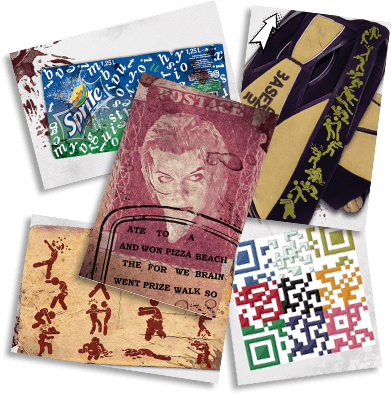
1Place These Cards Anywhere
Place these 5 clue cards anywhere in the room, they're great for hiding if that's something your group enjoys.
SubstituteThe colored QR code takes players to a website where they'll enter a passcode (the safe puzzle). See the spoiler box below if you'd prefer to replace this with a real combination lock or safe.
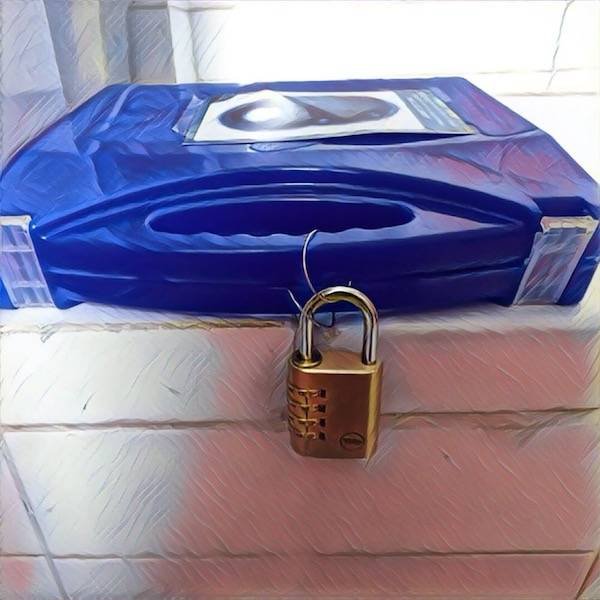
Swap the QR-code passcode page for a real combination padlock set to 1428, and lock the props inside a box.
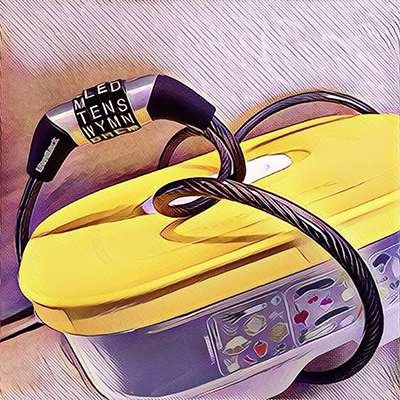
A bike chain lock works just as well if that's what you have on hand, same idea, same code (1428).
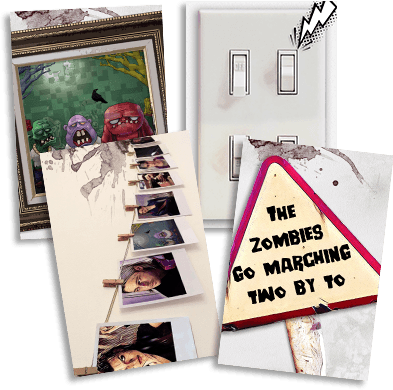
2Stick These Cards On A Wall
Stick these 4 cards to the walls around your escape room.
NoteThe props folder contains some bonus posters. If you print the zombie poster, make sure to include the zombie photo card too, it's required for a puzzle.
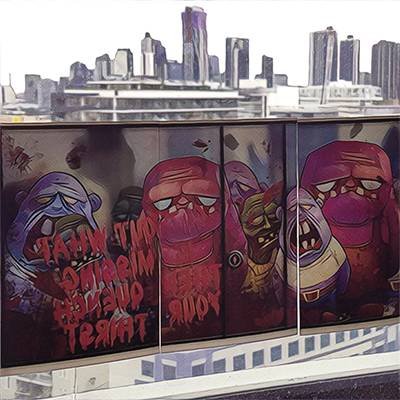
3Stick Zombies To External Door
These 3 cards form a triptych when placed side by side, simulating a horde of zombies waiting for players on the balcony. Stick them to the glass on an external door.
BonusThe props folder has a larger version of the message you can cut out and place for extra style points. This is the door players will unlock with the voice-command puzzle.
4"Lock" Your Oven Or A Box
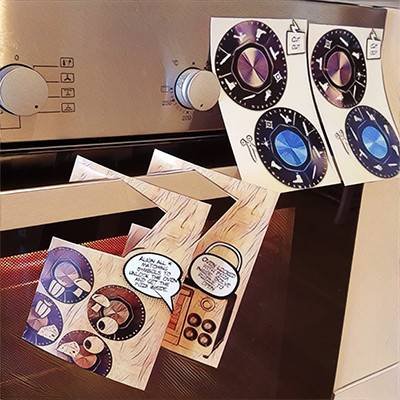
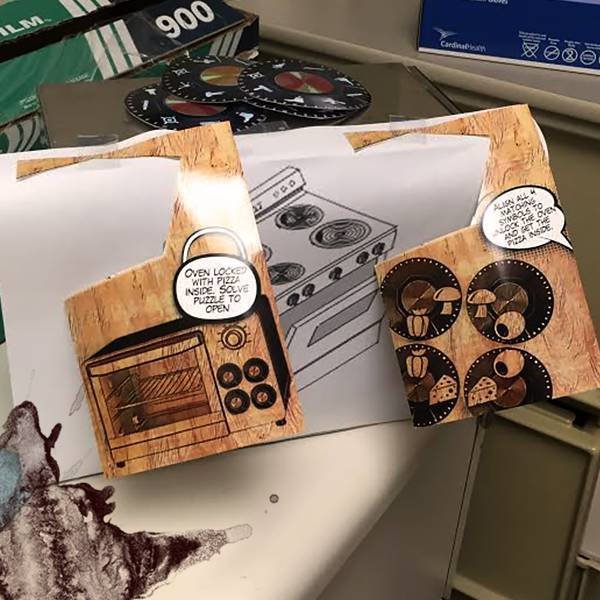
Obviously your oven's child safety lock isn't really an escape room puzzle, so we lean on suspension of disbelief: cut out the 2 hook signs and hang them on the oven door with a sign saying "It's locked." Stick the child lock dials next to them, and make sure scissors are nearby for players to cut them out. The oven is now "locked" until players solve the puzzle.
One player, Susan C, designed an easy trick to enhance this puzzle: cut the knobs out and place them on something metal, then put a small magnet in the center of each one. Players will then be able to easily spin them.
No oven at home? Player Kara Dern improvised the same puzzle for her group's team-building day using a cupboard instead, the "locked" framing works just as well.
5Place The Pizza In Your Oven
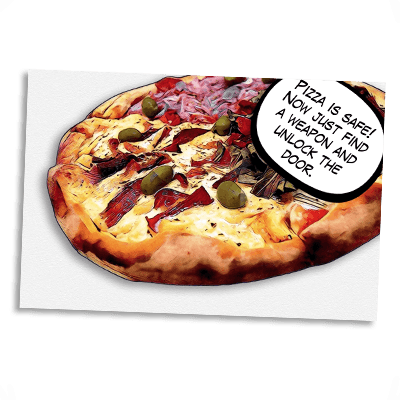
Place the pizza card inside the oven.
SubstituteA real pizza in the oven for extra fun. If you don't have an oven, use:
- A cupboard with a door
- A box with a lid
6Get A Weapon (Optional)
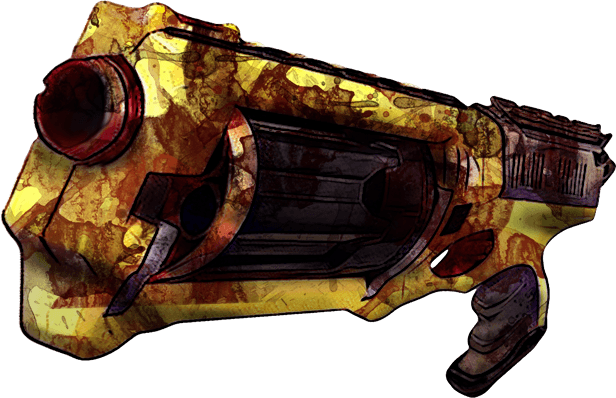
Tape this card to a NERF gun or one of the options below, then place it somewhere visible. Players will be told when they've earned access to it.
- NERF gun
- Scrunched up paper balls
- Ping pong or tennis balls
- Finger + rubber band gun
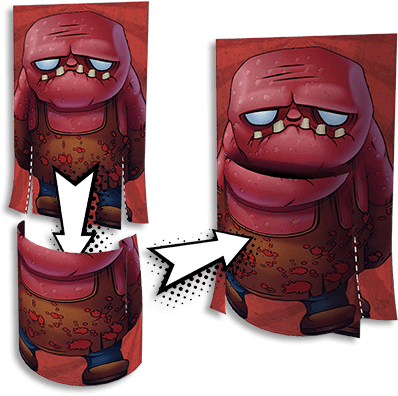
7Assemble Zombie Targets (Optional)
Prepare a zombie shooting mini-game! This final challenge happens after players have rescued the pizza, retrieved the gun, and unlocked the door. Build all the zombie targets and line them up like a firing range, indoors or outdoors, wherever you like.
One player, Corde Lane, designed an awesome shooting game called "Last Stand." Here's how it worked for them: they marked a square with tape in the center of the floor as the "Last Stand" room, which built up great anticipation among both teams.
How it worked: targets were placed throughout the room at varying difficulty, for example a high-value target partially obscured behind an obstacle, others a long distance away. The goal was to shoot down all 11 targets (a cooperation goal) while also scoring the highest points (a competition goal). Once a target was down, it stayed down.
2 different NERF guns: Team A (who finished first) got the bonus-ammo gun and took 3 shots at the targets. Team B got a multi-shot gun and chose two players who each got to shoot twice. Teams cycled back and forth with different players until everyone had a turn, then the targets were reset for another round.
One player, Mark Duncan, added a locked case for each team as a warm-up before the main puzzles: inside was their puzzle cards, scissors, and tape, locked with a 3-digit combination (894). A mirror in the room had "HID" written in red like a bloody message, alongside a clue rhyme ("A is 1, B is 2") hinting it was a simple letter-to-number cipher for the code. Took about 10 minutes and got everyone hooked before the real game even started.
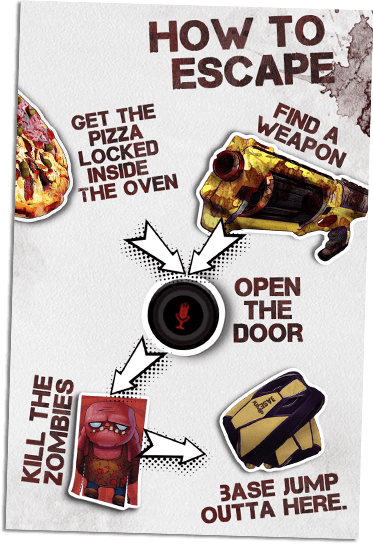
Get The Escape Party Started
Gather your friends and let's get this party started!
- Break out the snacks and crack open the drinks
- Lay out paper, pens, and scissors
- Start one of the Spotify playlists below
When you're ready to begin, give everyone a quick rundown on how escape rooms work, since some people will have never played one before. Open the Survival Guide on your phone at kits.escapezone.co.in/escape-room-z-hints and watch the intro video together. It also contains plenty of hints for solving each puzzle, agree on how you'll use them as a group before the game begins. As a rule of thumb, it's time for a hint if players are stuck on a single puzzle for more than 5 minutes.
Hints & Survival GuideTips For Larger Groups
Schools, Camps & Youth Groups
- Split the group into teams of 4-8 that compete for King of the Hill
- Each group can play simultaneously
- Teams need 1-2 phones to look up hints in the Survival Guide, which also has full solutions, so competitive teams can be made to come to you for a hint with a time penalty instead
- It's a race to the finish, no timer needed unless your schedule requires one
- Make a big moment out of revealing the winning team
Corporate Team Building & Conferences
Escape Room Z takes 30-60 minutes to set up and can be printed multiple times to scale to any group size.
- Follow the setup guide above, if space is limited just place all the puzzles in the middle of each team's table rather than spreading them out
- Set a 60-minute timer
- As Game Master, give out hints from the Survival Guide on your phone
- Set a time penalty for hints (2 minutes for a hint, 5 for a full solution) and deduct them from final times
Theme Your Room
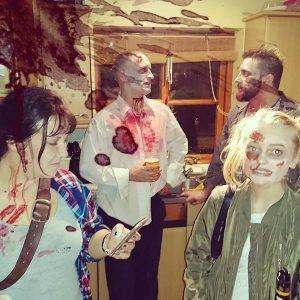
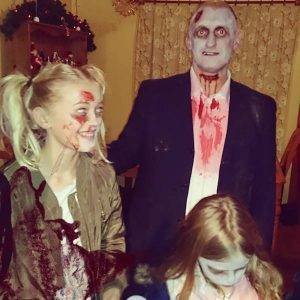
Escape Room Z comes bundled with optional props to make the experience super authentic, found in the Props folder in your download. None are required to play, but if you want to go the extra mile, it's totally worth it.

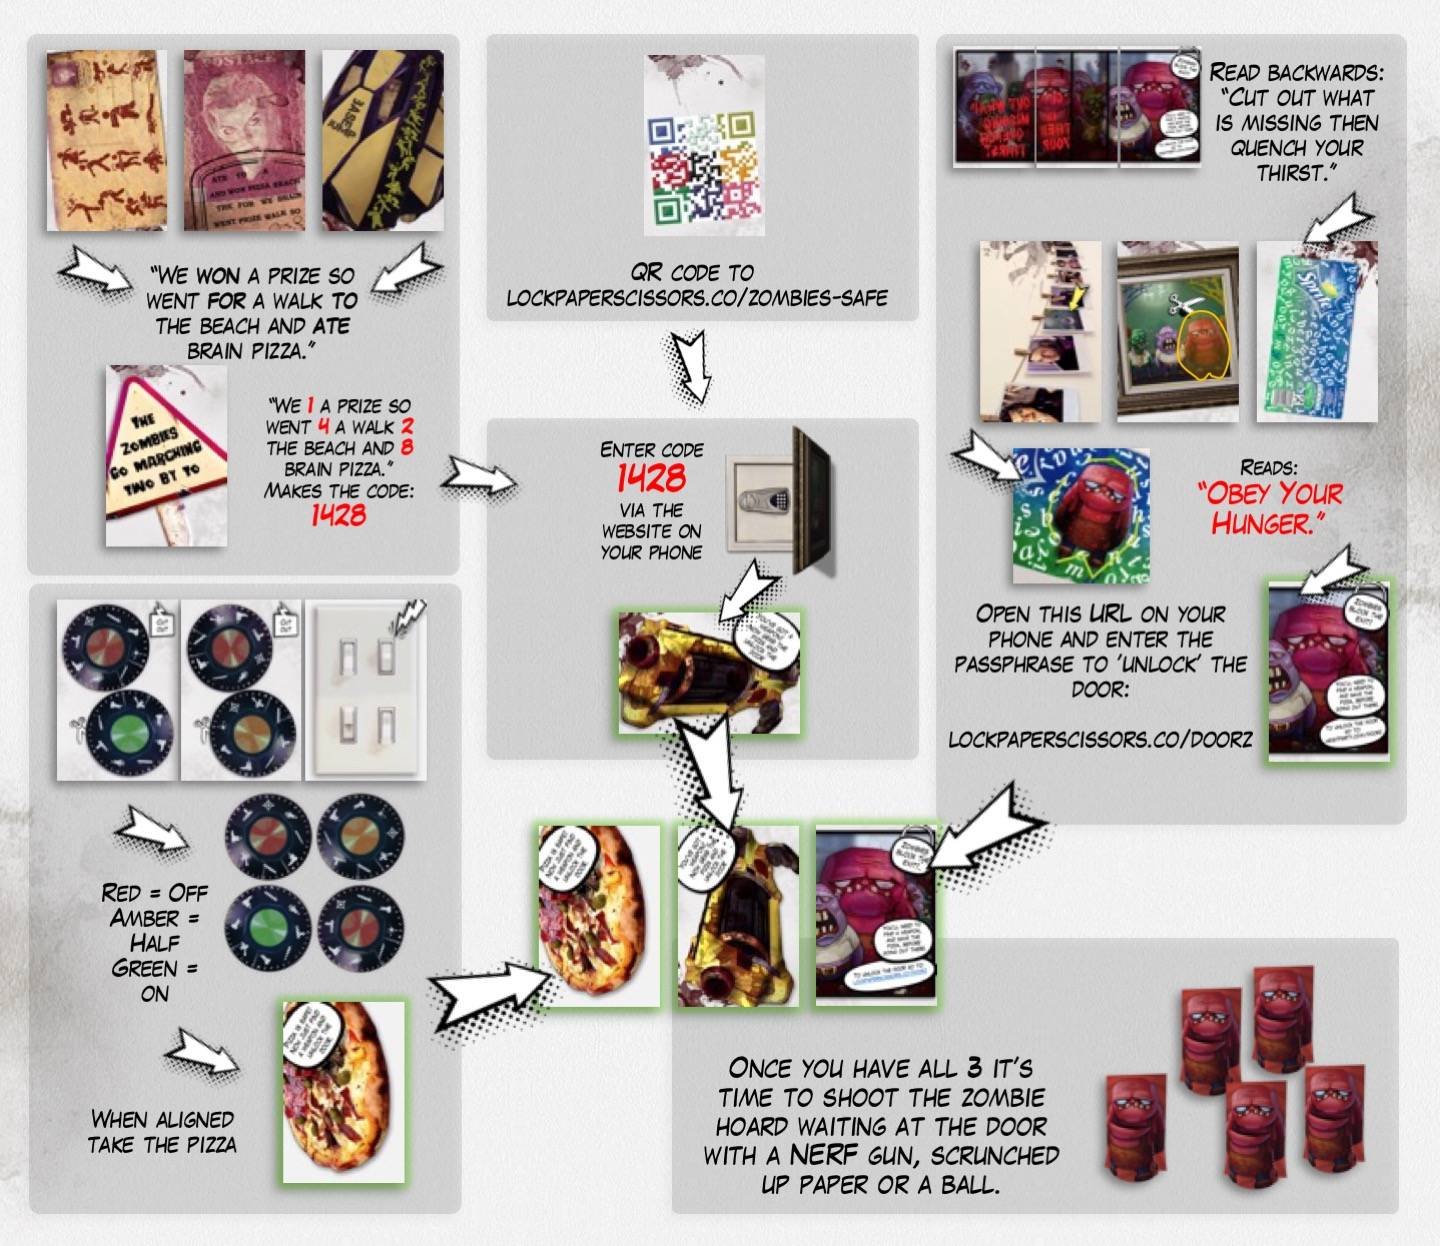
If you won't be playing the game yourself, a complete process map and full solution walkthrough is available for Game Masters, it contains spoilers, so only use it if you're running the game rather than playing it.