It's Time To Unearth An Adventure...
Exploring Ancient Egypt!
It's where your grandfather, Howard Carter, discovered the remains of the ancient pharaoh Tutankhamun.
But he had a secret.
Something he never told anyone, but you!
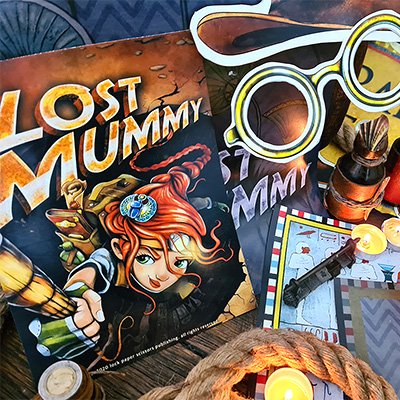
He believed there was another tomb connected to the first. A hidden tomb. A Lost Mummy.
You've spent years preparing, and now it's your chance to find it!
While the boat ride to Egypt took forever, you are finally setting foot on the dusty sand. Ready to unearth this mystery.
How To Solve Puzzles
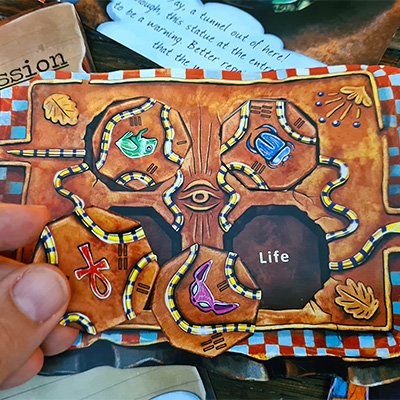
Solving puzzles in this escape room involves making lateral connections between clues or completing tasks, like mazes.
- Start where any good explorer would, by looking at the evidence on the puzzle cards. Some are easier to tackle than others, so check them all out to get a feel for how things work.
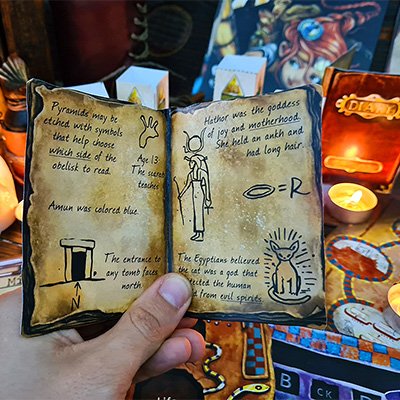
- You have some of your grandfather's old Journals to give you clues along the way. You'll need them so start by folding them together.
- Write your answers on the Archaeologist Report. If you're not sure where an answer fits, keep solving other puzzles and use the process of elimination.
- Don't worry about knowing when a puzzle is solved. Each puzzle has just one way of solving it and finding the right word answer. The answer is usually a word or sometimes a two-word sentence.
- If you're really stuck, you'll find hints further down this page.
- You'll be able to find your way out when you've completed the entire thing. Good luck!
Wait! Before You Start...
If you snap a selfie, tag us for a shoutout
Show off your awesome escape room party! Post a review (with a photo) on our Facebook page, or tag us on Instagram @escapezone.amd.
Share Your Photo ReviewHints From Grandpa Carter
Having trouble solving a puzzle? Check these extra hints from your grandfather, Howard Carter. His previous expeditions might be of help.
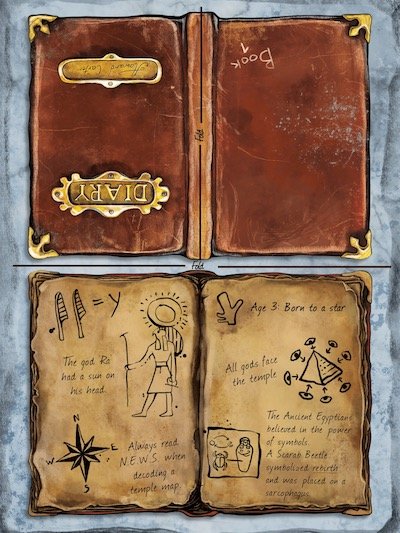
To repair the Diaries, simply fold along both lines to make the book.
If you'd like to go all out you also trim around the edges plus glue the white sides together.
The diaries contain hints and facts you'll need to complete other puzzles in the game. Just tap on the photo of the puzzle you'd like a hint for.
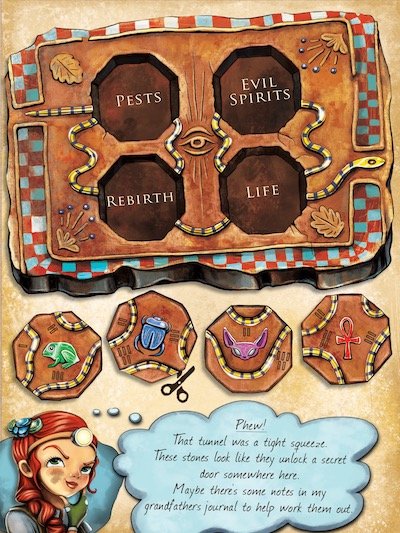
The stones can be aligned in a special way to complete the snake.
Look up Howard Carter's diaries for a hint on where to place each stone.
Follow the snake's path to find the 4 digit combination of 3245. This can be read by looking at the Ancient Egyptian numbers along the snake's body when the stones are aligned.
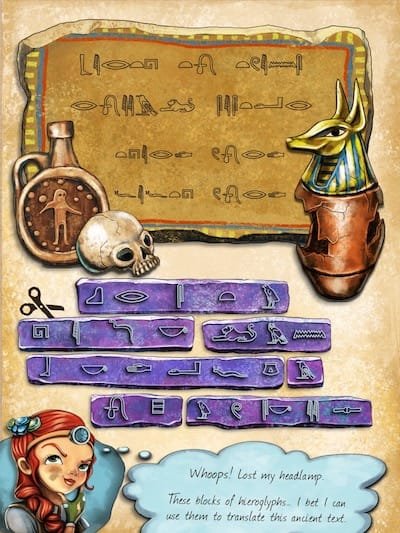
The purple color of the stone blocks must match another puzzle page.
Time to get the scissors working to cut out each of the stone blocks!
Using the translation stone below, we get:
"Birth to Twins"
"Royal Sister"
"Third Word"
"Fifth Word"
The 3rd and 5th words are "Twin Sister". Tutankhamun must have had a twin sister!
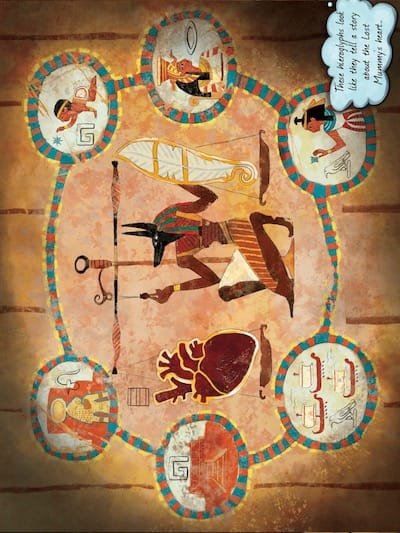
This hieroglyph wall painting shows Anubis inspecting the Heart of Life.
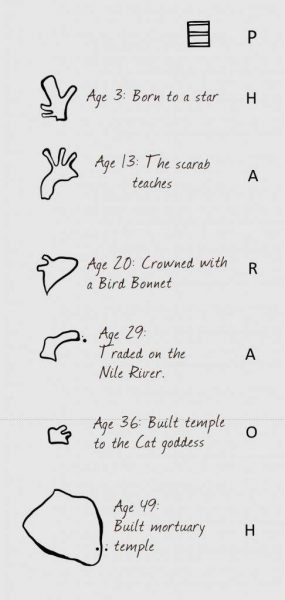
The six stages of the Lost Mummy's life surrounds the Scales, but they don't seem to be in order.
Ahh I have seen those heart pieces before! The diaries should help me decipher the life of the Lost Mummy.
The Diaries contain each heart piece, and a clue matching it to the Life of the Lost Mummy.
Translating each of life events in order we get PHARAOH.
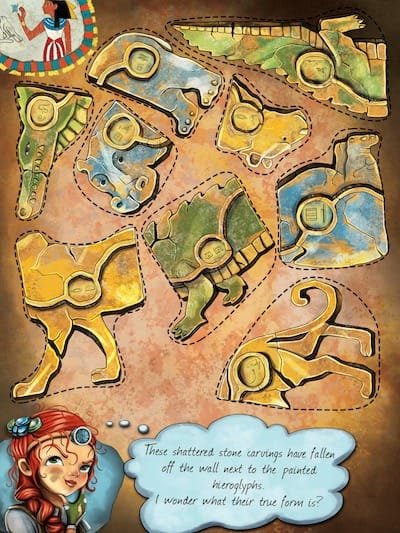
The shattered stone animals have to be cut out and put back together. But there is only one true form, what could it be?
One head, One body and One legs combine to form the true Goddess of the Feather. I know her name, Ammut!
Looks like the circles and lines on the animals have to match up to find the answer. There are different sized circles along the edges of each piece.
Translate the two hieroglyphs on each animal section and then line them up to read the answer. Only one combination of three animal sections produces a word.
The head is a cold-blooded.
The body pounces.
The legs are strength.
Crocodile Head - WO
Lioness Body - RT
Hippo Legs - HY
The Goddess Ammut has found the Lost Mummy to be WORTHY!
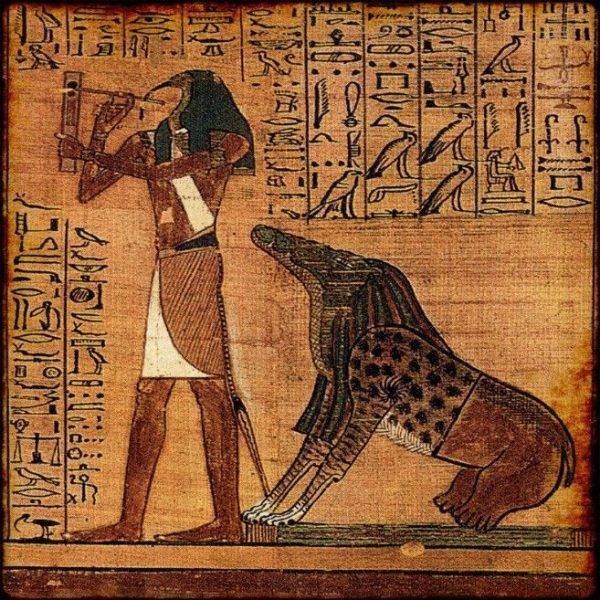
Here is a real wall painting of Ammut. She watches carefully at the Weighing of the Heart. She will eat the heart of the pharaoh if she hasn't followed the 42 principles of Ma-at.
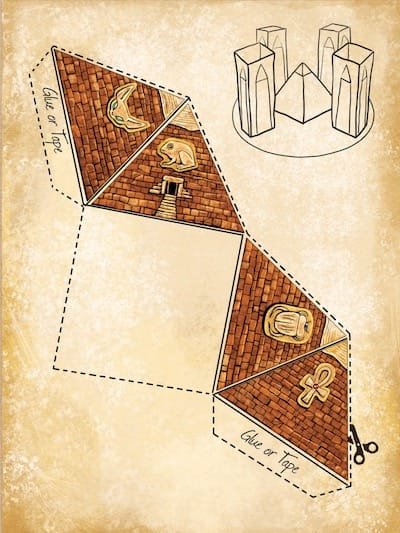
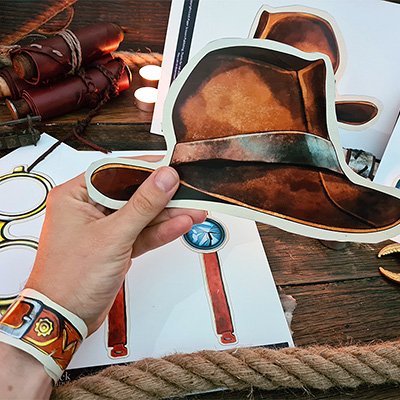
Time to cut out and build! Cut out and paste together the pyramid.
It must match another puzzle page, the icon in the top right gives us a clue.
The diary clue tells us to align the entrance of the tomb with north.
The green circle disk has a North indicator on it, so we can place the pyramid on the square with the correct alignment.
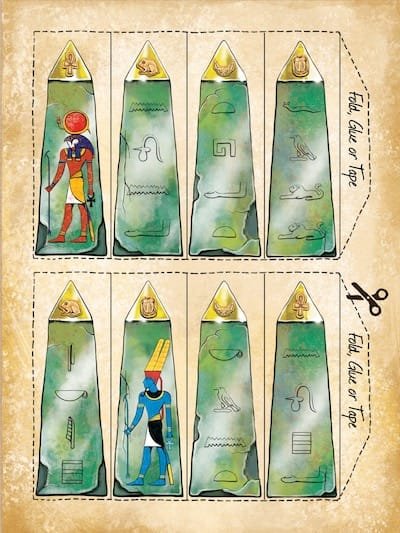
Looks like there are four stone pillars to cut out and glue/sticky-tape together. There is a four letter translation on each pillar, making a sentence.
The green colour must match another puzzle page. Perhaps the pillars need to be aligned somehow? Maybe the Diary has some useful clues.
Following the clues in the diary, we can work out which pillar aligns on the stone circle disk. There is only one correct text on each of the stone pillars. The other texts translate to various words like "CANT", "MISS", etc.
Frog: Skip
Cat: the t
Scarab: rip w
Ankh: ires
SKIP THE TRIP WIRES!
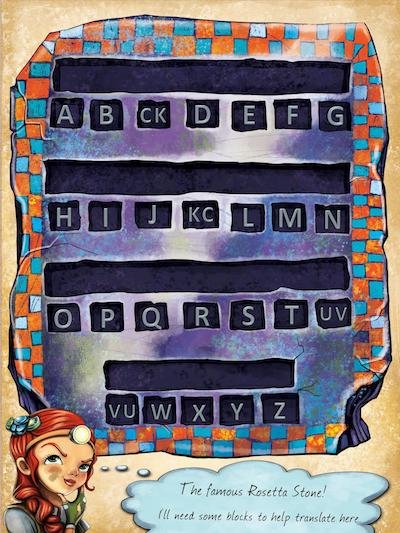
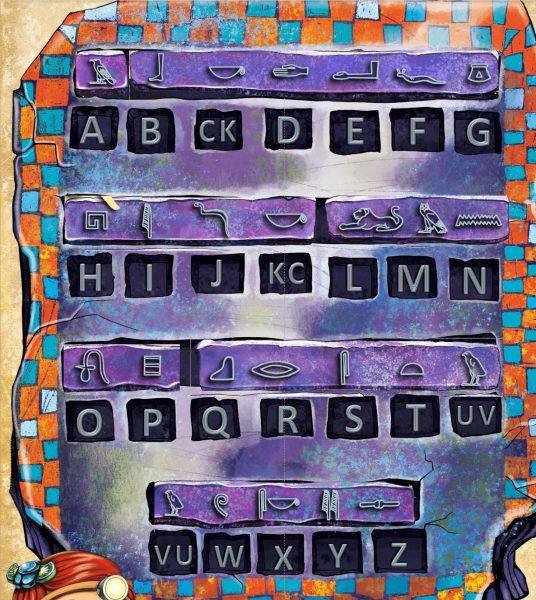
In the Lost Mummy kit, you will find an alphabet written in an Ancient Egyptian-type font which needs to be placed correctly on the Rosetta Stone sheet.
To do this, cut the symbols and arrange it based on the hints found in the 4 diaries.
For example, b c d e f g are on one slab of rock with corresponding symbols of a foot, cup, hand, arm, slithering animal, and headpiece. This can be worked out by reading "Foot = B" in diary 4.
Just continue to fill each of these in. Any leftovers will only have 1 place they fit. Enjoy cracking the code!
Cutting out the purple stone blocks we get this pattern.
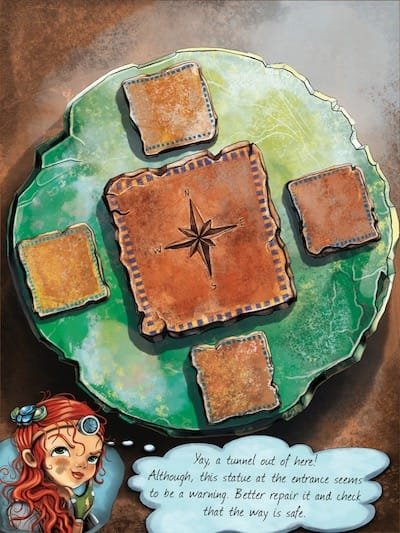
This green color must match another puzzle page.
The stone pillars and pyramid bases would match these blocks well.
The North compass face looks important.
Here is a video to explain it, please note it has the old art style, but the puzzle method itself hasn't changed.
The answer has also been updated. Instead of revealing a 4-digit code, it reveals a phrase you must enter on your "Archaeological Mission report sheet".
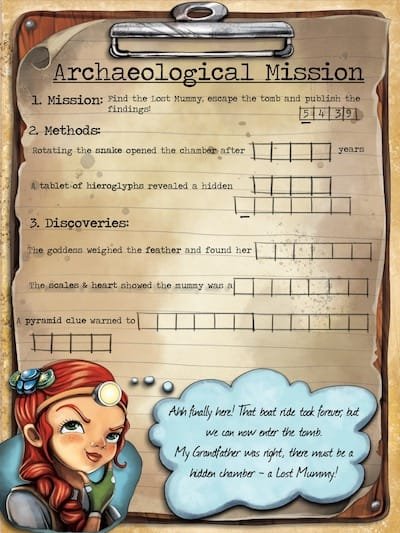
This is the Answer Sheet, a way to track all of the mission items. There are 5 puzzles, each with an answer word/phrase to fill out.
There is 4 numbers in a block at the top right of the page, and an underline on the first one. There is another underline on the page as well. The numbers must match some letters.
Here are the answers in sequence:
1. 3245 Years
2. Twin Sister
3. Worthy
4. Pharaoh
5. Skip the Trip Wires
BONUS PUZZLE: Make the word "STAR" by taking one letter from each answer, the number sequence is which letter to use.
Congratulations! You're a star Adventurer!
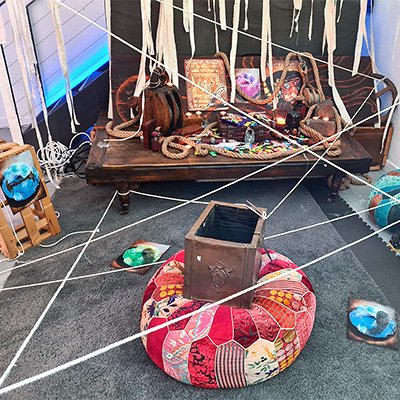
The game ends here. If you'd like a climactic end to your adventure, set up and complete the trip maze game (found in "Props > Trip maze").